Return to OrthoViewer Main Menu…..
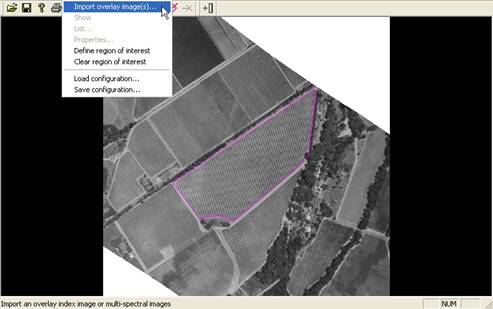
4. You are now ready to load the “overlay” images. This is done by using the [Overlays][Import overlay image(s)] menu item:
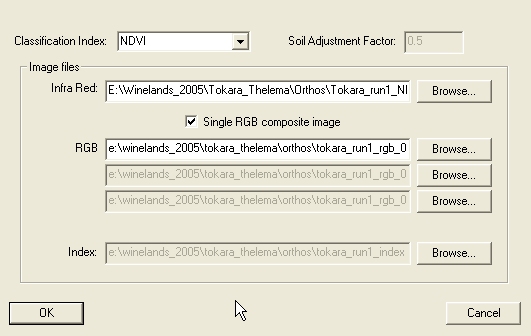
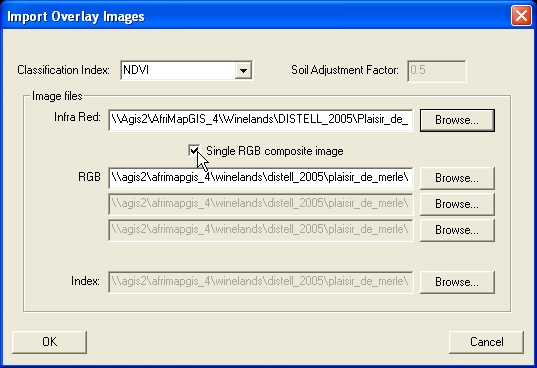
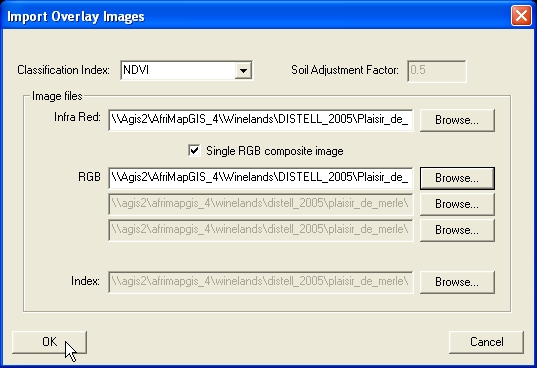
A pop-up window for importing overlay images will now appear:
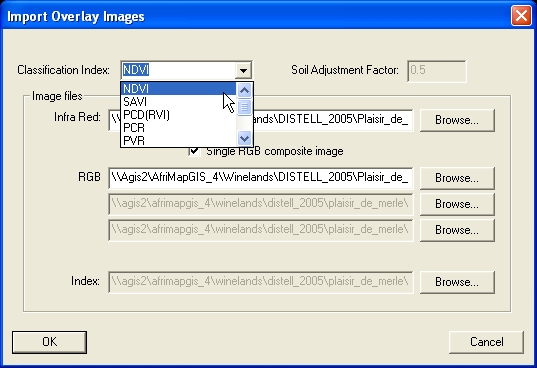
You can now choose the type of vegetation index you wish to use (NDVI – Normalized Difference Vegetation Index is the default and most commonly used vegetation index which shows a high correlation to plant growth vigour):
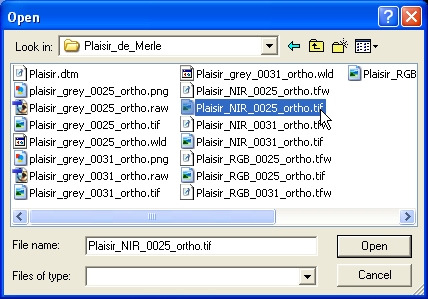
Once the type of vegetation index has been chosen, you need to identify the Near Infra Red (NIR) and colour (RGB) images. Overlay images typically work in sets with the same image number as the “background” image, for example number “0025” in the “plaisir_grey_0025_ortho.png” background image used for demonstration. Currently the only image formats supported for overlay images are TIFF and RAW. Let’s start with the NIR image:
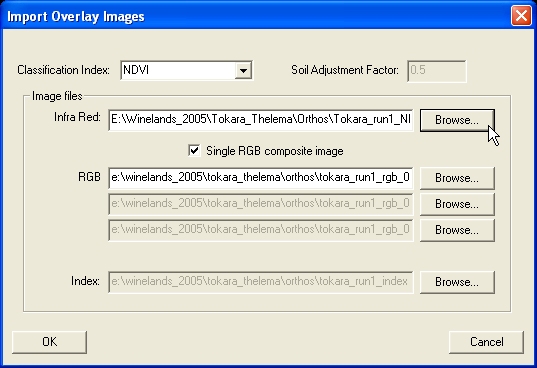
The NIR image will then be “plaisir_NIR_0025_ortho.tif” as shown below:
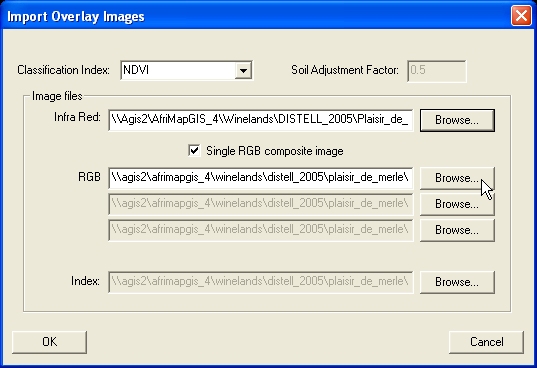
Next you need to define the RGB image being used in the current image set. Please note that is you are using a composite colour image, the [Single RGB composite image] check-box must be ticked:
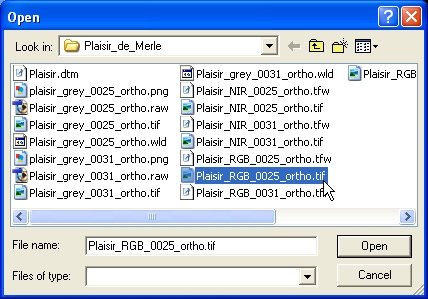
In this case, the RGB image “plaisir_RGB_0025_ortho.tif” will be used:
Now that the overlay images have been defined, press the [OK] button to proceed to the image classification stage:
Return to OrthoViewer Main Menu…..